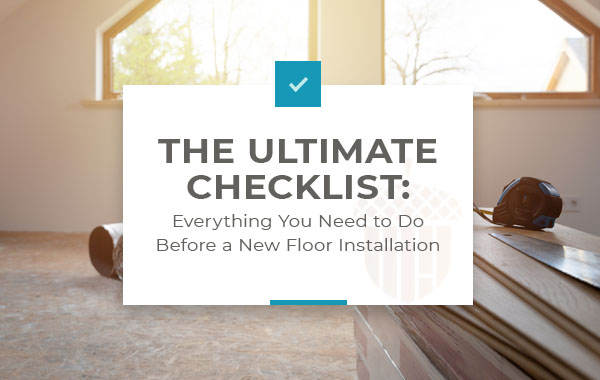
The Ultimate Checklist: Everything You Need to Do Before a New Floor Installation
Ready for new floors? Maybe something a bit more modern and durable that fits your family’s current lifestyle? Or perhaps you’re just looking for something to increase your home’s resale value.
It’s good to know what all is involved with a new floor installation after you've found the best flooring dealer and reputable installers. Instead of sitting idle and waiting for the pros to arrive, there are some chores you–as a homeowner–need to accomplish. This is especially important because not all floor installers take the same precautions or steps to prepare for your new floors. Even if they are true professionals, it’s up to you to do your due diligence.
Find a Dealer Near You
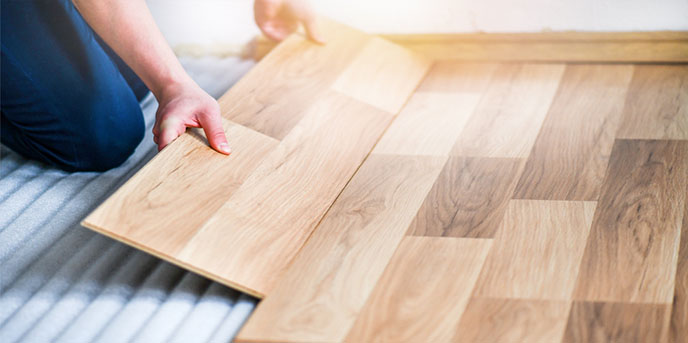
From clearing the room of furniture and breakable items to removing baseboards and trim molding, the checklist is extensive. It’s a good thing Twenty & Oak has you covered. Whatever flooring types you choose to have installed, here are 14 necessary steps you need to take to prepare your home for a new floor installation. This way, you can keep the space mess-free and guarantee a swift installation, allowing you and your family to enjoy new floors in no time!
The Ultimate Checklist for a New Floor Installation
1. Remove All Breakables
First things first: Remove all items in the room that could break. This means more than home decor or furniture because obviously those need to be transferred to another room while flooring is installed. It also means possibly lighting fixtures with glass or ceramic bowls.
Be sure to do this step with plenty of time before flooring installers arrive. Remove all artwork, mirrors and family photos hung on the wall. Bring down the window treatments with long panels, too. Essentially, look around the space and if it’s in the way or breakable, remove it!
2. Determine Who Removes Furniture, Appliances and Adds Subfloor
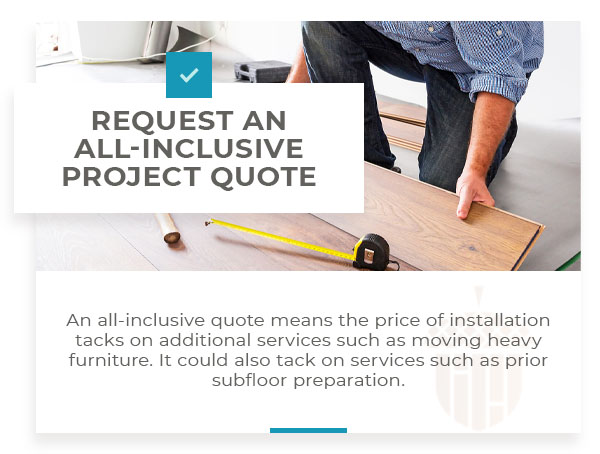
When you receive an installation estimate from your flooring installer, be sure to inquire and request an all-inclusive project quote. An all-inclusive quote means that the price of installation also tacks on additional, convenient services such as moving heavy or large furniture and appliances. It could also tack on additional services such as prior subfloor preparation or a complete removal and replacement if the project calls for it.
At the very least, avoid getting caught on installation day with heavy furniture and appliances to move. Otherwise, you may have forgotten just how heavy that armoire is and find yourself calling your neighbor in a desperate plea for some extra muscle strength to help you relocate it.
3. Disconnect Gas Appliances and Electronics
When it comes to your appliances, you need to do more than heavy lifting. Make sure to arrange to disconnect any gas hookups and electrical outlets in rooms where the new floor installation takes place. This could mean anywhere from kitchens to laundry rooms. For many homeowners, this is an easy DIY step. However, if you have any doubts, have the gas and electricity disconnected safely by a professional.
4. Determine New Floor Height
Before installation commences, verify the new floor height. If there is any change in height to the floor, it may require you to adjust the doors as well. Otherwise, your new flooring may prohibit a smooth opening and closing.
Many flooring types, such as vinyl flooring and laminate flooring, offer a glue-down or floating installation method. Because these floors offer the convenience of being installed over most existing floors, this also means you need to ensure the doors–both interior and exterior–can swing open and shut properly with the extra height.
Browse Our Collection of Laminate Floors
5. Clean Out Closets and Storage Areas
When you prepare for a new floor installation, don’t forget about all the nooks and crannies. Remove any items from your extra closets and storage areas where new flooring will be installed. If you are installing floors throughout your entryway, clear out the coat closet. If you are replacing the kitchen floors, empty the pantry and surrounding areas (like the mudroom or laundry room, for example). As installation day approaches, homeowners tend to miss these tucked back areas in hectic preparation. You’ve removed heavy furniture and taken down the cherished family photos from the walls, but the closets and storage areas tend to be forgotten.

6. Provide Dust Control
Dust can create problems during a new floor installation, especially when it comes to installing unfinished hardwood. A true professional will prepare a way to control dust particles from sticking to your new floors, but it helps to make your own preventative measures–just in case!
Seal off any rooms that are not to be sanded. This does not mean simply shutting doors, but also covering doorways with plastic sheets and sealing them with masking tape. Choose something similar to the ZipWall barrier system to guarantee dust remains put. Also tend to other escape routes and openings where airborne particles can find their way in, such as heating ducts. All of this prep and mess can be prevented by selecting from the diverse offering of beautiful, prefinished hardwood at Twenty & Oak.
7. Remove the Doors
Within the room where the new flooring is installed, remove any doors from their hinges. Professional flooring installers know to do this before beginning; however, it’s best to do this yourself to ensure each door is removed and stored safely.
Once you remove the doors, you can stack them in a closed-off room. Be sure to place a soft blanket between each door to prevent accidental scratches from occurring. Don’t forget to keep track of all the hinge pins within a plastic bag or box. Once your new floor installation is finished and the pros have left, carefully replace each door with its respective hinges.
8. Remove the Baseboards
Remove the baseboards and any additional shoe moldings that line the bottom edges. Depending on your baseboard styles, such as ranch or colonial, you may be able to easily remove them with a pry bar.
If your home’s baseboards are tall with a small quarter-round shoe molding, oftentimes you can simply remove this piece instead of removing the entire baseboard.
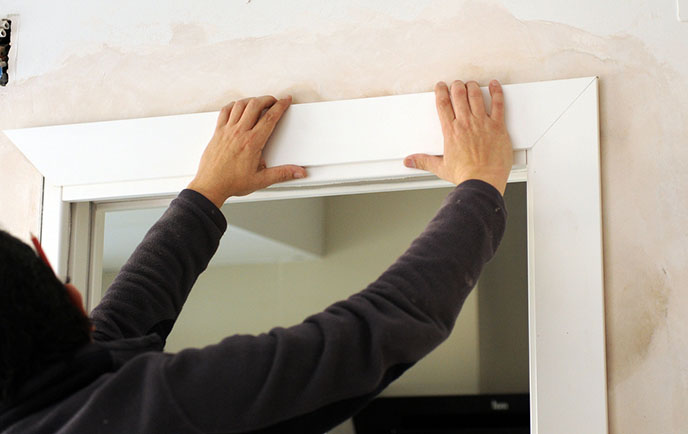
9. Remove the Door Trim
Remove all case moldings and stop moldings around the doorways. Otherwise, these areas can become quite problematic, even more so than the baseboards. Flooring installers also have a tendency to cut the molding bottoms to slip the new flooring beneath instead of removing them. So as a proud homeowner, do yourself a favor and remove the door trim prior to the installation. Doing it this way will create a more refined appearance and also allow flooring installers to tightly fit the flooring beneath the door frame. Once the flooring is laid, you can then go back and trim off and reinstall the old case molding or add new molding to your doors, giving an updated look along with your new floors.
If you are not experienced with this type of trim work, you may want to leave this to the professionals. This type of work should be included in your estimate. Just be upfront about your expectations for the visual outcome.
10. Thoroughly Clean All Floors
With any new floor installation, it’s good practice to reduce the amount of allergens, dust, mold and mildew that you come across. Inspect the subfloor if you can to ensure there is no water damage or issues you need to address before starting. You should even clean the concrete for basement renovations should you plan to install fitness flooring and turn it into a home gym.

Shop Fitness Flooring
Cleaning your floors of dust and more not only prepares for your new floor installation, but it improves your indoor air quality and guarantees your family better overall health.
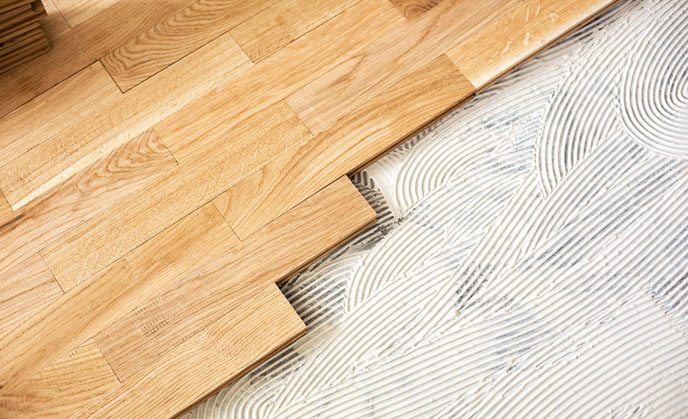
11. Prepare the Subfloor
Many floor installers spend little time addressing subfloors, unless, of course, you negotiate and outline this in an all-inclusive project as previously mentioned. Whatever the case, you need to find out now if your subfloor is suboptimal. Besides the need for a flat and smooth subfloor, without dips or other flaws, there are some other imperfections to look for and potential work to be done. For instance, your subfloor should be securely fixed to the floor joists and completely level. Take the effort to prepare the subfloor and we promise your new floor installation will look flawless and smooth.
In addition, you may even choose to install a completely new subfloor, or at least a thin plywood underlayment to smooth out imperfect areas. It’s important to note here that if subfloor conditions are less than ideal, it could void the warranty of your brand new floors. Subfloor conditions that may void warranties could be anything from humidity, debris and stability, so always double-check with your flooring manufacturer.
Again, discuss the subfloor with a professional floor installer to see what services they might do for you and add to the project.
12. Verify and Maintain the Proper Interior Temperature
Certain flooring requires a proper temperature or, at least, an ideal season to be installed. Each type of flooring specifies recommended temperature conditions, usually located on the box, on installation directions inside or on the brand’s website.
Acclimation is an important step that should not be taken lightly. Most flooring products need at least a day or two to acclimate before it’s laid. Some flooring manufacturers will require a room, and the floor itself to maintain temperature and relative humidity requirements throughout the entire installation process.
13. Prepare a Cutting Area
If there’s dust, create an outdoor cutting area or at least designate and set up a space within the garage. This way, once the installation is complete, you can easily sweep away the sawdust or scraps of debris from the ground or concrete floors. Even if it’s a resilient flooring that arrives pre-cut and ready to go, you still may need to cut and install a subfloor, so a separate prep area is nice to have.
Ideally, your prep station cutting area should have:
-
Outdoor GFCI electrical outlet
-
Hard work surface (concrete flooring or patio)
-
Shade or protection from weather
-
Good lighting (natural or work spotlight)
-
A nearby entryway into the home or room
14. Secure Your Pets
Make sure your pets are secure in a room or even have a neighbor pet sit for a while. Not only could the sound of a buzzsaw frighten them and cause anxiety, but keeping them away from installers and the prep area will ensure their job is done as quickly as possible without interruptions.

Of course, if you do have pets, consider installing a pet-friendly flooring option, such as luxury vinyl plank and tile that resists scratches and offers a water-resistant and waterproof barrier to protect against accidental piddles.
Ready for a New Floor Installation?
Now that you have an understanding and a thorough checklist of what it takes for a flooring installation, are you ready for some brand new stylish floors?
Better yet, if you’re still only toying with remodeling ideas, discover a vast range of flooring types to suit every style through our Floor Genius Quiz and check out our virtual flooring showroom.